Windows Subsystem for Linux (WSL2) Installation Guide
Introduction
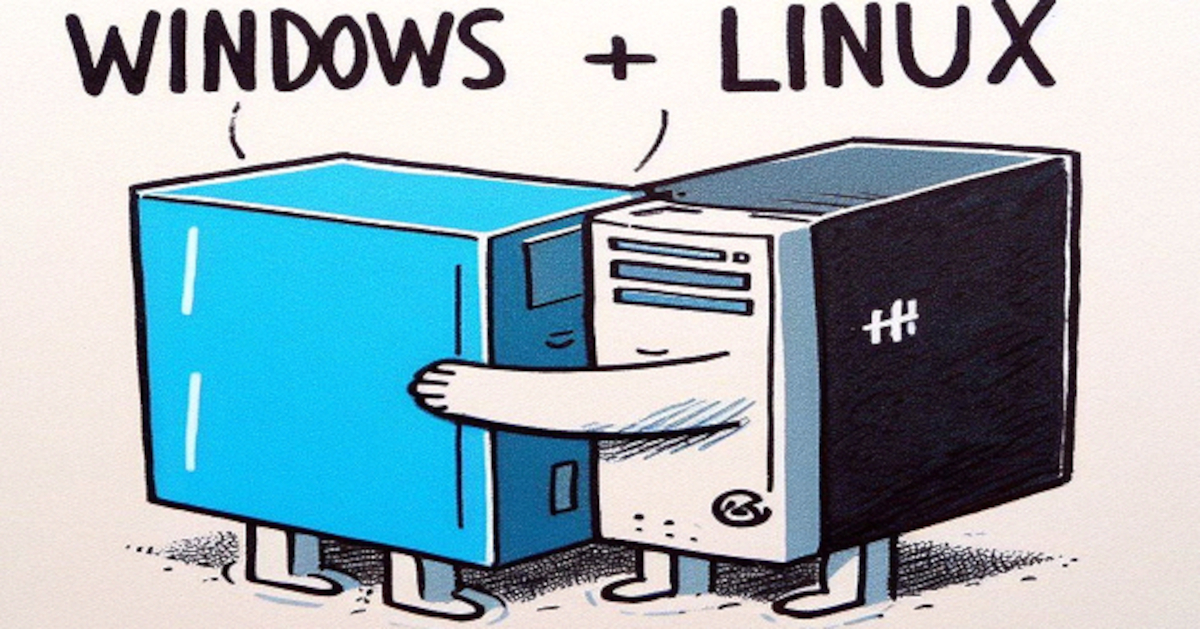
Do you want to run Linux and Windows apps side by side on your PC? Or maybe you want to learn how to use Linux commands and tools without leaving Windows? If so, you should try Windows Subsystem for Linux (WSL).
WSL is a feature that lets you create and use a Linux environment within Windows. It integrates seamlessly with Windows apps and files, so you can switch between Windows and Linux apps as needed. WSL also allows you to run Docker Desktop, a popular tool for developing and running containerized applications.
This guide offers a brief walkthrough for installing WSL on your Windows 10 or 11 PC, along with tips to get you started.
Prerequisites:
- A computer running Windows 11, or Windows 10 (Build 19041) or higher. To confirm your Windows version, follow these steps:
a). Press the
Windows(⊞) + rkeys on your keyboard.
b). Typewinverinto the dropdown prompt, and select ‘Ok’.
c). In the pop-up window, confirm that you are on Build 19041 or higher for Windows 10.
- NOTE: If you are using Windows 11, you should be good to go. - Ensure that your computer is capable of virtualization and that it is enabled on the system. You can check this by following these steps:
a). Press
Ctrl + Shift + Escon your keyboard to open the Windows Task Manager.
b). Within the Windows Task Manager, go to the “Performance” tab and select “CPU”.
c). To the right, under the CPU Utilization graph, there is a list of various CPU details. Find the detail for “Virtualization” and make sure it shows as “Enabled.” If virtualization is not enabled, you’ll need to go into your system UEFI/BIOS to enable it. This process varies by manufacturer, so you may need to refer to your system’s documentation or seek help from the manufacturer’s support site to determine how to do it.
Install WSL2
- Open PowerShell as Administrator.
Do this by right-clicking on the Start Menu and selecting Windows PowerShell (Admin).
- With PowerShell opened as Administrator, enter the following command:
1
  wsl --install
This command should enable WSL2 on your system, and install the Ubuntu 22.04 LTS Linux distribution.
If the command does not work for you, review the output in the terminal to look for clues and refer to the Troubleshooting tips from Microsoft here. You might have to do something like enable the Virtual Machine Platform, or complete a couple of system updates before it will install properly.
- Create a new user account and password.
- After you run the above command, it should open a terminal and prompt you to create a user account and a password. These will be your credentials for the Ubuntu distribution. (Note: for security reasons, the password does not show text on the terminal when you type it in.)
- Once you’ve created a user account and password, you should be taken to a new line in the terminal that looks like this:username@computername:~$ - Run the following commands in your Ubuntu terminal to update the apt package manager and upgrade your system.
1
sudo apt update && sudo apt upgrade -y
- You can now start using Linux commands. Here are some Linux resources to get you started:
- The Linux Journey learning guide, (available in multiple languages).
- Introduction to Linux from the Linux Foundation. (Spanish Language Version also available.)
- Tons of easy-to-understand Linux videos on a wide variety of topics at Learn Linux TV.
Some additional tips to make it easier to get started:
Reopening the Ubuntu Linux terminal:
- There are a few different ways to open your Ubuntu Linux terminal.
- Search for ‘Ubuntu’ in the Windows search bar and open the Ubuntu app.
- Type
wslorubuntuin the PowerShell terminal and press enter. - Find the Ubuntu terminal in your Start Menu.
Shutting down WSL/Ubuntu:
- If you need to shutdown WSL/Ubuntu, you can do so by opening PowerShell and typing the following command:
1
wsl --shutdown
Accessing your Windows file system:
- To access your Windows file system in your Ubuntu terminal, you can navigate to
/mnt/<drive-letter>. For example, to change directories to your C: drive in the terminal, you would type the following:1
cd /mnt/c
Installing apps that have a Graphical User Interface (GUI):
- If you prefer to use a graphical file explorer, you can install one through your terminal. I tried out a few different ones, and I found that I prefer Nemo. You can install it with the following command:
1
sudo apt install nemo
NOTE: You can open Nemo with elevated permissions if needed by typing
sudo nemoin the terminal. - If you want to use a graphical text editor,
geditshould work well. You can install it with the following terminal command:1
sudo apt install gedit
Conclusion
WSL is a powerful tool that can significantly enhance your productivity as a developer. It allows you to use your favorite Linux tools and applications on your Windows machine, without the need for a dual-boot setup or other virtualization method. I encourage you to try it out and see how it can improve your workflow.
If you have any questions or comments to improve this post, feel free to reach out to me on LinkedIn or by email.
